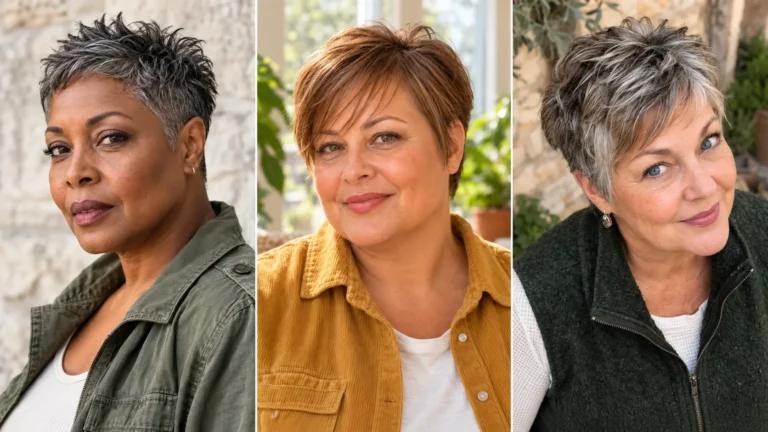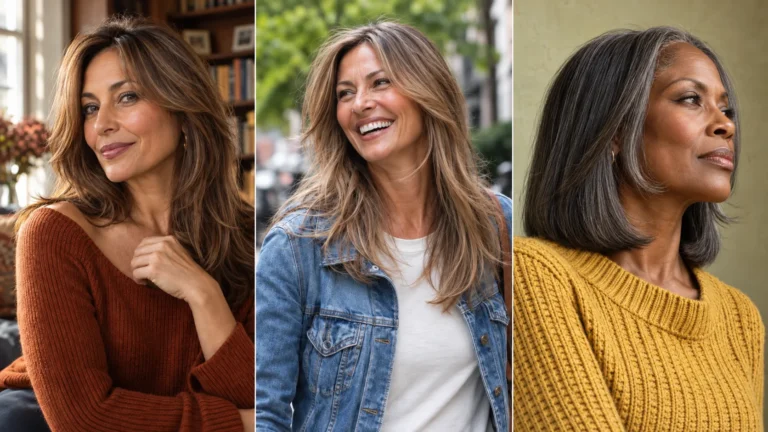
12 Flattering Haircuts with Layers With Bangs for Thin Hair
Two fears keep women with thin hair out of the bangs chair, and both are completely justified. The first is walking out with a fringe and realizing the sides of your head now look sparse, because the hair that used to cover them is sitting on your forehead. The second is layers that taper your ends into thin, stringy pieces you can see your collar through.
Here’s the part nobody explains at the shampoo bowl. Your hair is a fixed budget. Every strand cut into a fringe is a strand permanently removed from your perimeter, and if your density is already low, a deep fringe can borrow a quarter of what you have.
Cut correctly, though, layers and bangs do something no single-length cut can. A shallow fringe fills the space in front of your part where the scalp shows through, and internal layers lift the hair off your head instead of letting it lie flat.
Two visible planes of hair instead of one flat sheet. That’s the whole trick, and it reads as roughly double the volume even though not one extra strand has appeared.
The Three Golden Rules of Layers and Bangs on Thin Hair
Rule One: Never a Deep Triangle Fringe
A traditional heavy fringe is cut from a deep triangle section that reaches several inches back toward your crown. On thick hair that’s fine. On thin hair it’s a serious withdrawal from an account that’s already low.
Worse, that section is taken from exactly where thin hair is most fragile: the top of your head, around the part, where density drops first.
Wispy, air, and curtain fringes are all cut from a shallow section, sometimes barely an inch deep. You get the fringe effect on a fraction of the hair, and your sides keep their coverage.
Rule Two: Protect the Baseline Perimeter
The bottom two inches of your hair are doing more work than any other part of the cut. That’s the line people see from a distance, and if every strand ends at the same point, they read it as one solid mass.
The moment a razor or thinning shears touch that edge, it fractures. Some strands end higher, light passes through the gaps, and your ends look see-through no matter how much hair is above them.
So layers must stay internal, cut inside the shape underneath the top section. You get lift and movement, and nobody looking at you can tell anything was taken out.
Rule Three: Build a Seamless Bridge
The most common giveaway of a bad fringe on fine hair is a visible step. The bangs end abruptly at the temple, then there’s a gap, then the next longest piece starts an inch or two lower.
That step is exactly where thin hair looks thinnest, because the gap exposes scalp at the temple. The fringe has to curve downward at the outer edges and blend into your shortest face-framing layer with no break at all.
Ask your stylist to connect the fringe to the face-framing pieces rather than cut them as two separate sections. It’s a small difference in the chair and an enormous one in the mirror.
12 Layered Haircuts with Bangs for Thin Hair
Every cut below protects the perimeter while adding lift, and each one pairs a specific fringe with a specific layer pattern. Work down the list until one of them describes the problem you keep noticing in the mirror.
1. The Blunt Lob with Wispy Curtain Bangs

One solid length stopping just above the collarbone, paired with a fringe that parts in the middle and sweeps outward to your cheekbones.
This is the safest pairing on the list, and the one I’d hand to anyone nervous about either element. The curtain is cut from a shallow section, so it borrows very little, and it blends straight into the front length rather than sitting as a separate piece.
- Best for: First-time fringe wearers, and anyone whose ends have already gone wispy.
- Ask your stylist: A blunt perimeter above the collarbone, a shallow curtain section, and the fringe connected into the face-framing length.
- Daily 5-minute styling: Dry the fringe first, brushing it back and away from your face, then rough-dry the roots and smooth the lengths.
- Skip it if: Your hairline sits very low, in which case a shorter fringe sits more comfortably.
2. The Scaled-Down Butterfly Cut with Soft Fringe
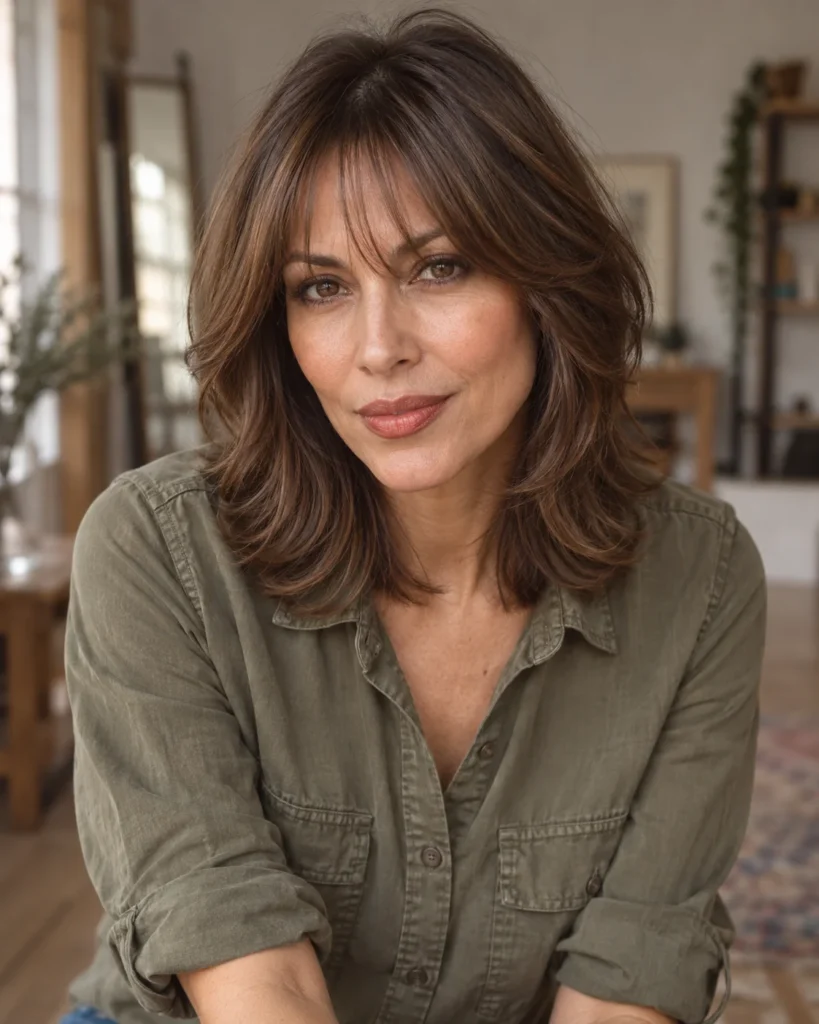
A butterfly cut has short layers at the front that fold back like wings, blending into longer length behind. The scaled-down version keeps those front layers far fewer and softer than the trend usually calls for.
The wings create the illusion of a second layer of hair sitting on top of your length, which is exactly the two-plane effect thin hair needs. The trick is having only three or four of them instead of a dozen.
- Best for: Medium to long thin hair, and anyone who wants visible volume without losing length.
- Ask your stylist: A handful of soft front layers starting at the cheekbone, blended into an untouched perimeter, with a soft fringe on top.
- Daily 5-minute styling: Bend the front wings back and away from your face with a round brush, leave the back straight.
- Skip it if: Your hair is thin throughout, since too many front layers will hollow out the sides.
3. The Shaggy Bob with Eyebrow-Grazing Wisps

A jaw or chin-length bob with soft irregular layers around the crown, finished with fine wisps falling to eyebrow level.
The wisps are barely a fringe at all, which is the point. They’re thin enough to see through, so they cost you almost nothing in density while still filling the space above your eyes and breaking up a bare forehead.
- Best for: Natural fine waves, and anyone who wants a fringe without the commitment of a real one.
- Ask your stylist: Crown layers only, a solid perimeter, and wisps point-cut from a shallow section at brow level.
- Daily 5-minute styling: Scrunch light mousse into damp hair, diffuse on low, then separate the pieces with your fingers.
- Skip it if: You want a polished finish, since this shape is built to look undone.
4. The Shoulder-Length Cut with Bottleneck Bangs

Bottleneck bangs are narrow and shorter in the center, then widen and lengthen sharply at the sides, so the shape resembles the neck of a bottle.
For thin hair this geometry is quietly brilliant. The shortest, most fringe-like part is tiny, so the density cost is minimal, while the long flared sides blend straight into your face-framing pieces with no step at all.
- Best for: Round and fuller face shapes, and anyone who found curtain bangs too wide across the forehead.
- Ask your stylist: A narrow center section at brow level, widening and lengthening outward to connect with the face-framing layer.
- Daily 5-minute styling: Dry the center down and the sides outward with a small round brush. Ninety seconds, and it holds all day.
- Skip it if: You have a cowlick right at the front hairline, since the narrow center section has nowhere to hide it.
5. The Long Bixie with Airy Fringe
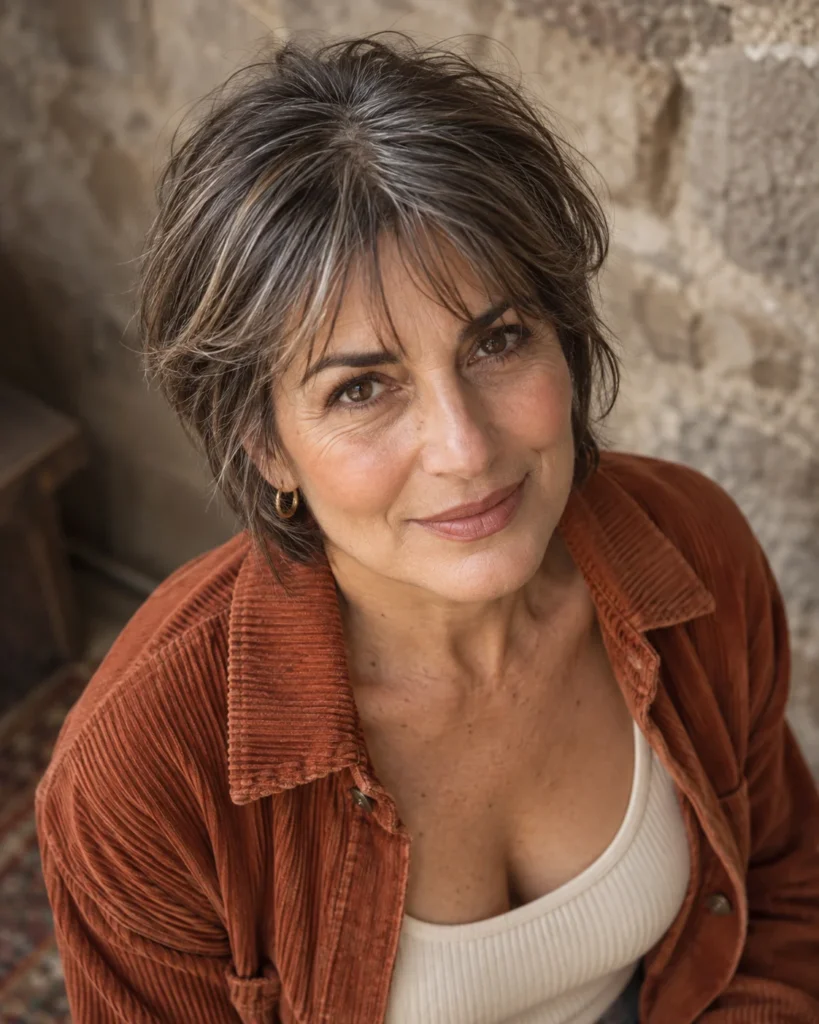
Short crown layers with the front and top kept noticeably longer, paired with a fine, airy fringe cut from a shallow section.
The crown is where thin hair loses density first, and short layers there let the pieces underneath push the top ones up. You get structural height, not sprayed-on height, and the airy fringe softens the hairline where it’s often sparsest.
- Best for: Flat crowns, widening part lines, and thin hair that won’t hold a longer shape.
- Ask your stylist: Short crown layers, length kept at the front, and a fringe thinned enough that light passes through it.
- Daily 5-minute styling: Root spray at the crown, rough-dry upward with your fingers, then press the fringe flat with your palm.
- Skip it if: You can’t get to the salon every six weeks, because this shape depends on its crown proportion.
6. The French Chin Bob with Micro-Wispy Bangs

A precise, blunt bob at the chin with a micro fringe, meaning it’s cut from a section barely an inch deep and left deliberately sparse.
The blunt line is the densest edge you can give fine hair, and the micro fringe is the cheapest fringe you can buy in density terms. Together they’re the most efficient combination on this list.
- Best for: Genuinely thin hair, fine straight textures, and anyone who wants maximum visual thickness.
- Ask your stylist: One blunt length at the chin, scissors only, and a fringe from a section no deeper than an inch.
- Daily 5-minute styling: Round-brush the ends slightly under, dry the fringe side to side, then 30 seconds of cool air.
- Skip it if: You want soft, romantic movement, since this cut is precise by design.
7. The Inverted Bob with Side-Swept Bangs
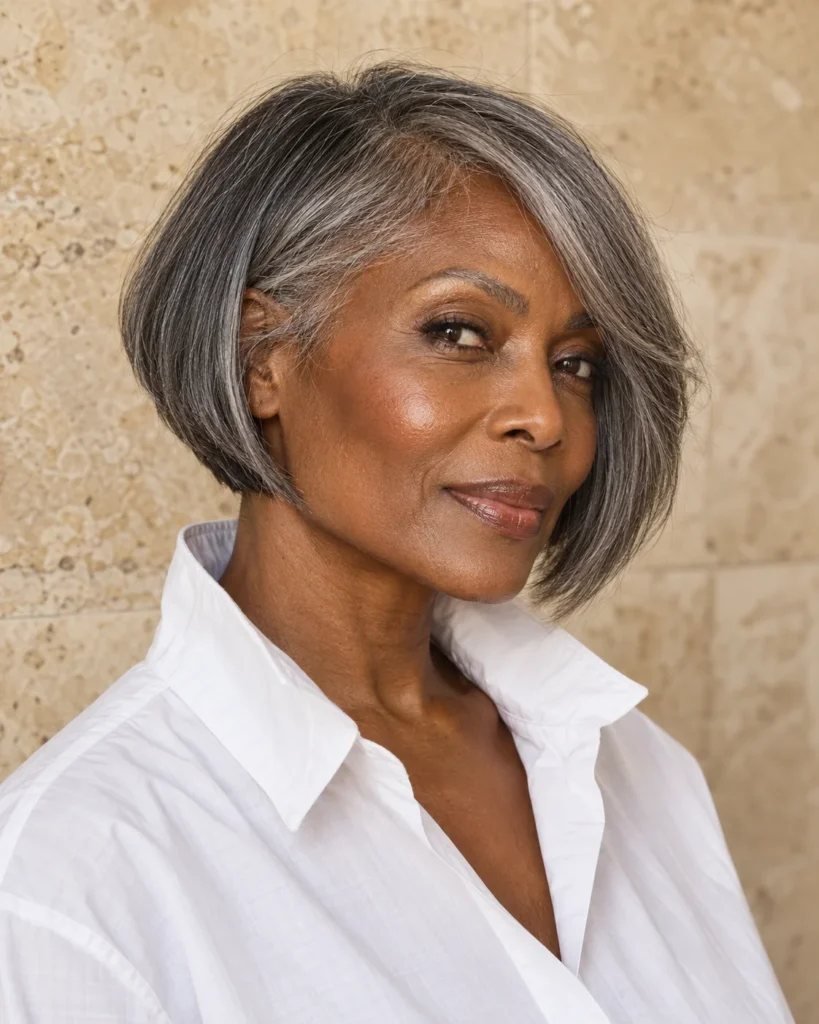
Shorter and graduated at the back, angling longer toward the front, with a fringe that sweeps diagonally across the forehead.
The graduation builds real height at the back where fine hair flattens, and the side sweep covers the temple area where thinning shows earliest. Two problems, one cut.
- Best for: Flat crowns combined with thinning temples, which is the most common pairing I see.
- Ask your stylist: A graduated nape angling down to jaw-length front pieces, with the fringe cut long enough to sweep and connect.
- Daily 5-minute styling: Lift the back straight up as you dry it, then sweep the fringe across with a flat brush and set with cool air.
- Skip it if: You change your part regularly, since the sweep commits to one direction.
8. The Cascading Face-Framing Midi with Bardot Bangs

Length just past the shoulders with face-framing pieces cascading from cheekbone to collarbone, topped with a full, soft, side-parted Bardot fringe.
Bardot bangs are longer and heavier-looking than a curtain, but they’re cut on a curve and worn swept to one side, so they sit on top of the length rather than replacing it. The cascade behind keeps every inch of your perimeter.
- Best for: Longer thin hair, and anyone who wants the look of a full fringe without a full fringe’s density cost.
- Ask your stylist: A curved fringe section worn to one side, cascading face-framing layers, and an untouched perimeter.
- Daily 5-minute styling: Blow-dry the fringe on a large round brush, rolling it up and over to one side, then loosely bend the front pieces.
- Skip it if: Your hair is very fine at the front, since a Bardot fringe still uses more hair than a wispy one.
9. The Textured Pixie with Choppy Fringe
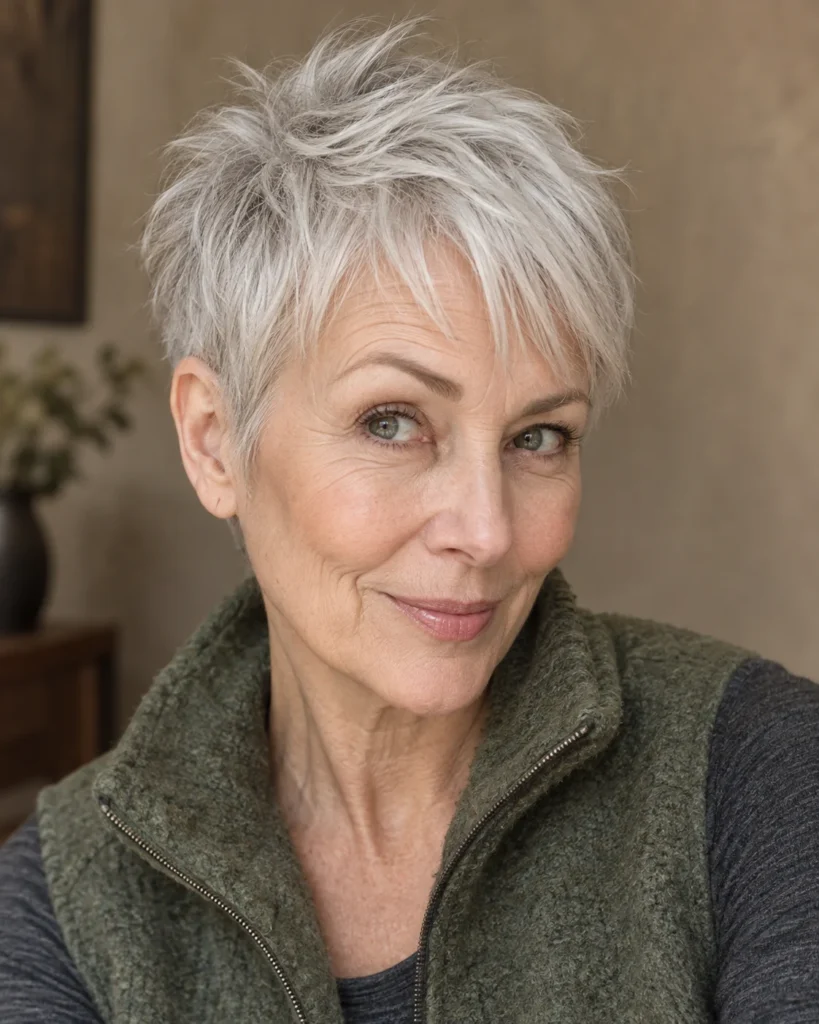
Short all over with heavily texturized pieces on top and a fringe cut choppy and uneven rather than straight across.
Short hair has a built-in advantage with thin density, because less length means less weight pulling everything flat. The choppy fringe separates into pieces instead of lying as a thin sheet, which is what stops a fine-hair fringe looking sparse.
- Best for: Very fine hair with little to work with, strong features, and anyone wanting genuine wash-and-wear.
- Ask your stylist: Texturized layers on top, a choppy point-cut fringe, and soft rather than sharp edges at the temples.
- Daily 5-minute styling: Matte paste rubbed between dry palms and pushed through the top. Avoid shiny gels, which flatten fine hair.
- Skip it if: You want something soft and feminine, or you dislike frequent trims.
10. The Soft Curved Wedge with Feathery Bangs
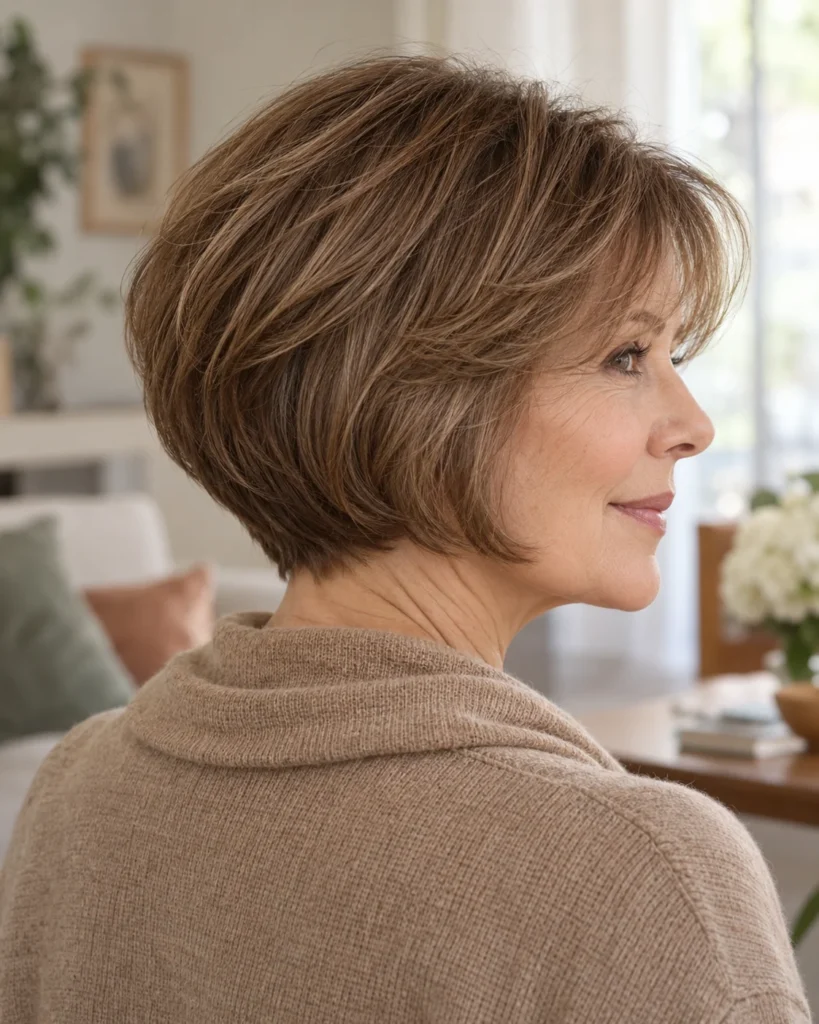
Graduated through the back so weight builds into a rounded curve at the back of the head, paired with a soft feathered fringe at the front.
The wedge solves a problem most women never name out loud: the flat spot at the back of the skull that fine hair makes obvious. Building a curve there balances the head shape, and the feathery fringe keeps the front from looking heavy in comparison.
- Best for: Anyone whose head is flat at the back, or whose bob looks right from the front and disappointing from behind.
- Ask your stylist: A soft rounded build-up of weight through the back, a close nape, and a feathered fringe blended into the sides.
- Daily 5-minute styling: Dry the back sections lifted straight out from your head, let them fall, then finish with cool air.
- Skip it if: You tie your hair back often, since the shorter back sections escape an elastic.
11. The Modern Fine-Hair Wolf Cut
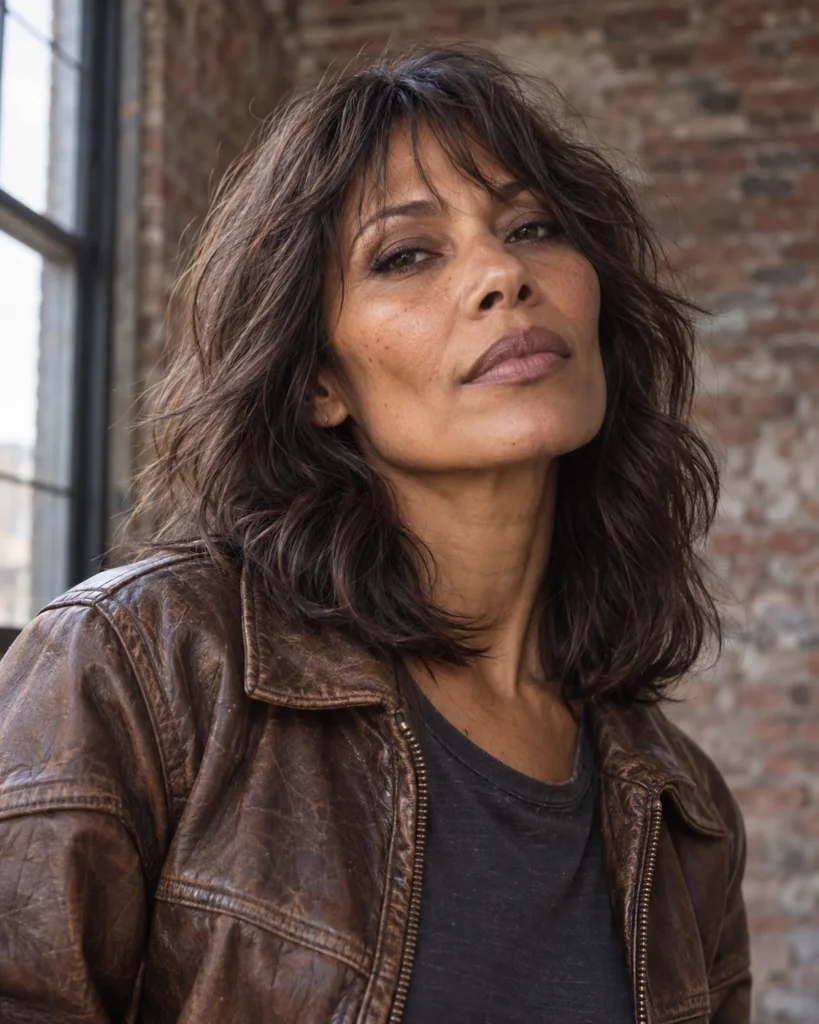
A wolf cut mixes shag and mullet influences: short, textured layers up top flowing into longer, wispier lengths. The fine-hair version keeps the top layers shorter but far fewer, and leaves the perimeter blunt.
The standard wolf cut is a disaster on thin hair because it’s built on heavy texturizing throughout. Restricted to the crown with a solid bottom line, though, it gives you maximum root lift with none of the hollowing out.
- Best for: Thin hair with natural wave or texture, and younger readers who want a current shape.
- Ask your stylist: Short layers confined to the crown, a blunt perimeter, and a wispy fringe. Explicitly no razor and no all-over texturizing.
- Daily 5-minute styling: Mousse on damp hair, diffuse on low, then break the crown pieces apart with a little texture spray.
- Skip it if: Your hair is straight and fine with no natural texture, because this shape needs movement to work.
12. The Full-Perimeter U-Cut with Korean Air Bangs
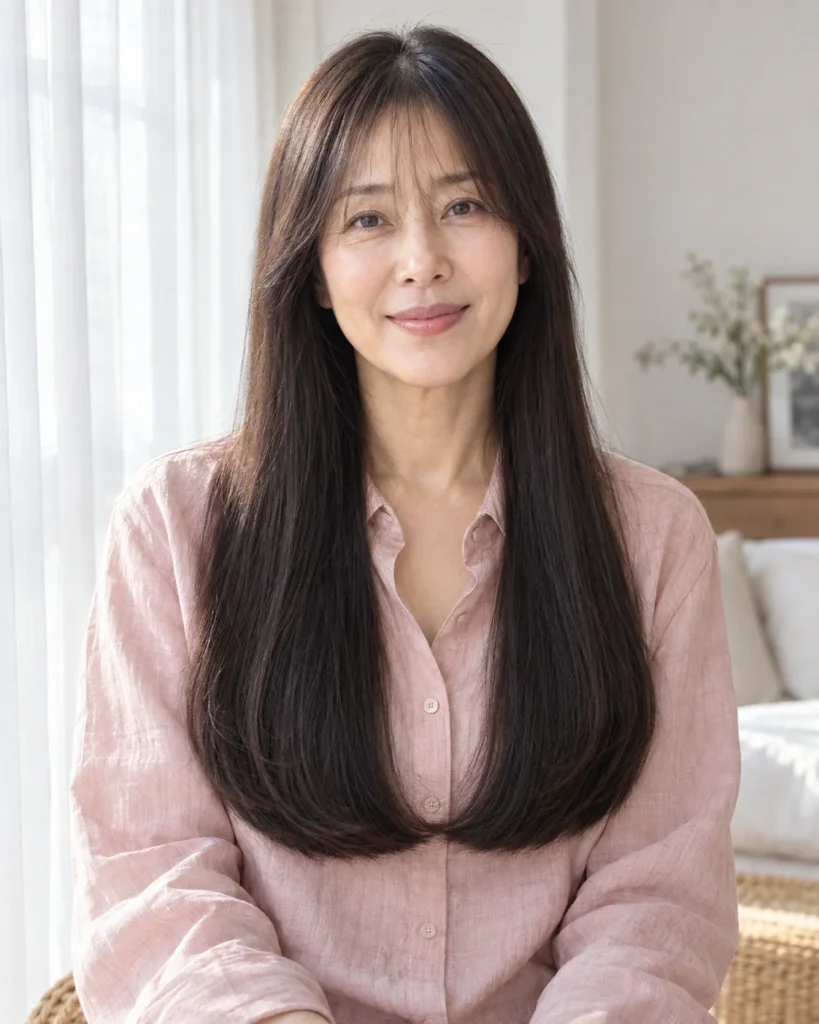
The length is cut into a soft U shape at the back with zero internal layers, so the perimeter stays completely intact, paired with see-through air bangs.
This is the most density-protective cut on the entire list. Nothing is removed from the length at all, and Korean air bangs are cut so sparse that you can see your forehead through them, which means the density cost is close to nothing.
- Best for: Long thin hair you refuse to cut, and anyone who has been burned by layers before.
- Ask your stylist: A soft U-shaped perimeter with no internal layering, and an air fringe from a shallow, sparse section.
- Daily 5-minute styling: Air-dry the length, then dry the fringe with a small round brush and set it with a whisper of hairspray.
- Skip it if: Your hair goes flat at the roots, since this cut gives you density but very little lift.
What to Tell Your Stylist in the Chair
Bring a photo by all means, but photos only show an outcome. These four sentences describe the architecture underneath it, which is the part that protects your density.
- Say this: “Please cut my fringe from a shallow section, no more than an inch deep, so it doesn’t borrow from my sides.”
- Say this: “Keep my perimeter blunt and solid, and build any layers internally rather than on the surface.”
- Say this: “Please connect the fringe into my shortest face-framing layer, so there’s no step at the temple.”
- Say this: “Scissors and point cutting only, and please keep the thinning shears away from my ends.”
If your stylist looks pleased rather than defensive when you say these, you have a good one. For more shapes built around low density, our haircuts for fine hair guides go deeper.
Mistakes That Hollow Out Thin Hair vs. Techniques That Build Density
| Mistakes That Hollow Out Thin Hair | Techniques That Build Density |
|---|---|
| A deep triangle fringe section reaching back toward the crown | A shallow fringe section barely an inch deep |
| Heavy razor steps cut on the surface | Internal scissor point-cutting hidden under the top |
| A fringe that stops dead at the temple | A fringe that curves down and blends into the face-framing layer |
| Thinning shears taken through the ends | The bottom two inches left completely untouched |
| Layers cut all over the head | Layers confined to the crown and face |
| A blunt, solid fringe cut straight across | A wispy or see-through fringe you can spot skin through |
| One flat plane of hair lying against the scalp | Two visible planes: lifted crown over solid length |
Frequently Asked Questions
Do bangs make thin hair look thicker or thinner?
Both, depending entirely on the section depth. A shallow wispy fringe makes hair look thicker, because it covers the front of your part where scalp shows through and adds a second visible layer.
A deep, heavy fringe does the opposite. It takes so much hair from the top that your sides and perimeter go visibly sparse, and you notice it within a week of the cut.
Which fringe suits fine, thinning hair best?
Curtain bangs first, then bottleneck, then wispy or air bangs. All three are cut from shallow sections and blend outward into your existing length rather than ending abruptly.
The ones to avoid are blunt straight-across bangs, deep baby bangs, and anything cut with a razor, since a razor leaves frayed ends that make a thin fringe look even sparser.
How do I stop wispy bangs going greasy and separating?
Your forehead produces oil, and a fringe sits directly on it all day. Separation into stringy pieces is almost always oil rather than the cut being wrong.
Apply a light dry shampoo to the fringe roots at night rather than in the morning, so it absorbs oil as it’s produced. Keep conditioner well away from that area, and if you wear makeup, blot your forehead before the fringe goes back down. Our volume and thickness guides cover the root-lift side of this.
Can I have face-framing layers if my temples are thin?
Yes, but the layers need to start lower. If the shortest face-framing piece begins at the temple itself, it exposes exactly the area you want covered.
Ask for the shortest piece to start at the cheekbone instead, and have the fringe sweep across the temple rather than away from it. This is worth saying out loud, because most stylists default to starting layers higher.
Layers and bangs aren’t off limits when your hair is thin. They just have to be cut with your density budget in mind, which is a conversation rather than a leap of faith.
Start with a shallow fringe you can grow out in eight weeks if you hate it, keep your perimeter untouched, and let one cut prove itself before you go further. For more ideas by length and age, browse our hairstyles over 50 section.
Start with a shallow fringe, keep your perimeter untouched, and take the four talking points into the chair with you.