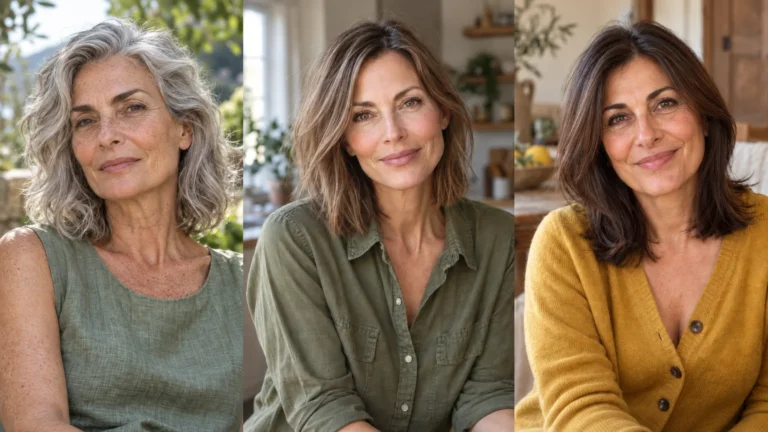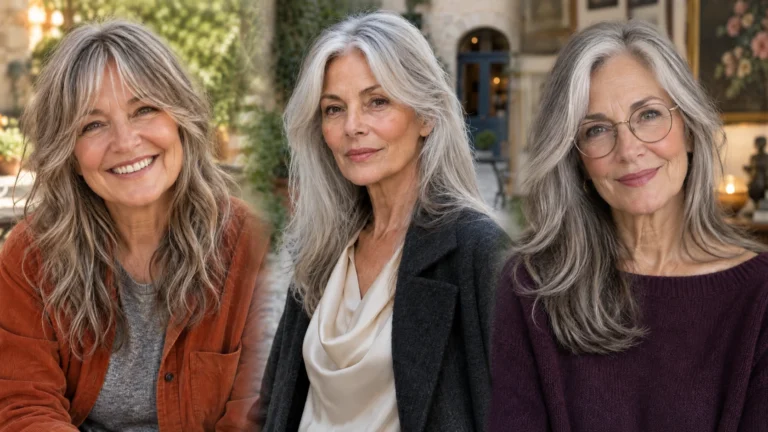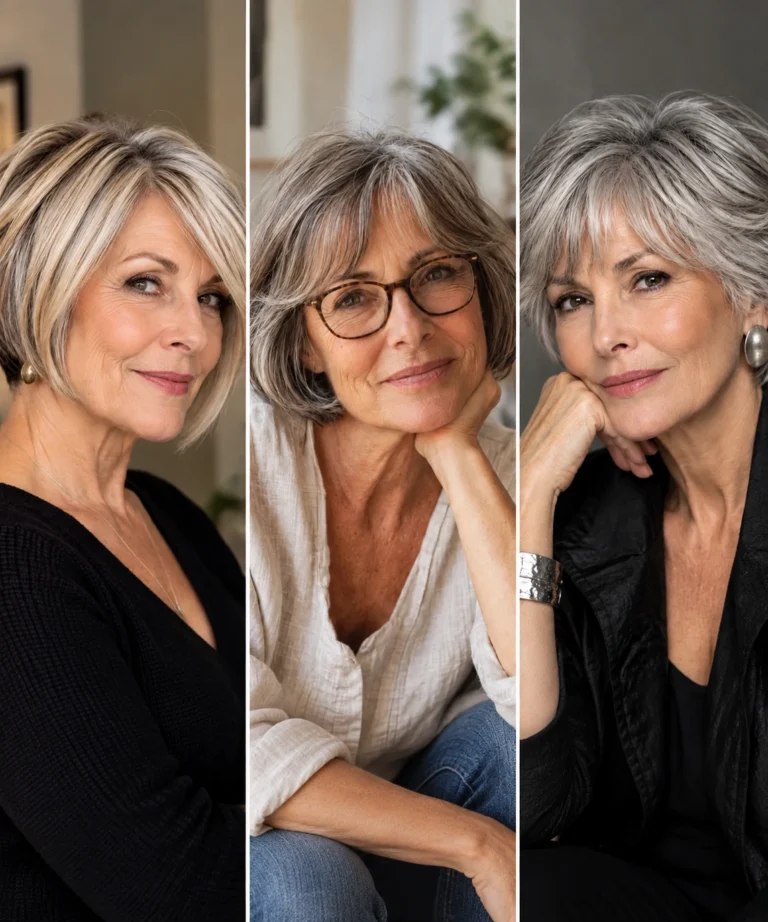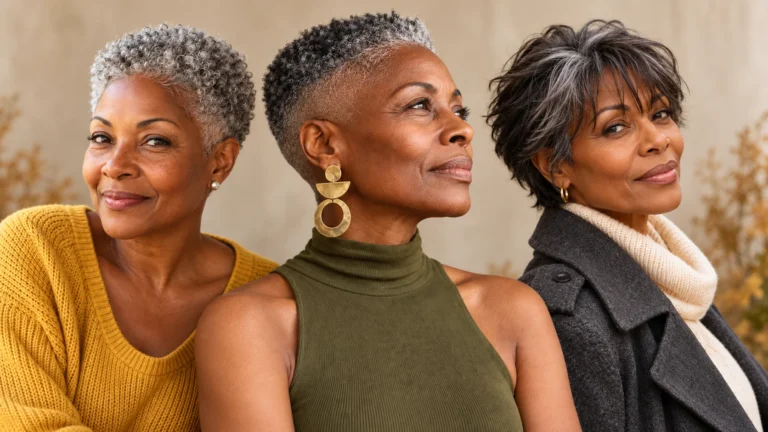
12 Shoulder Length Cuts for Women Over 50 That Fake Real Thickness
Somebody has probably told you it’s time to cut it all off. A sister, a stylist, maybe just a comment section. And the other half of your brain says the opposite, because you’ve seen what your hair looks like hanging past your shoulders lately, thin at the ends and flat at the roots.
Neither option is the answer, and you don’t have to pick between them. You still want to pull your hair into a claw clip on a Tuesday, and you still want it to look like you have hair.
Underneath all this, some real things have changed. Strands have narrowed, the crown and part have lost density first, greys have come in wiry where the rest went baby-fine, and your jawline has softened.
Shoulder length, cut properly, is the sweet spot. Ending right at the collarbone gives fine hair a solid horizontal edge that reads as thickness, keeps enough length for a ponytail, and stops short of the point where hair starts dragging your face down.
The Golden Rules of a Mature Shoulder-Length Cut
Collarbone, Not Shoulder
This single inch decides whether your cut works. Hair cut to sit exactly on the shoulder has nowhere to go, so it hits the shoulder and kicks outward, giving you that flared, bent-out shape by lunchtime. Stylists call it the shoulder flick.
Stop the length just above the collarbone and the hair hangs freely with nothing to push against. The line stays clean, it moves when you move, and you never fight a flick that reappears an hour after you leave the house.
There’s a second benefit. A clean horizontal line across the collarbone draws the eye straight across, which balances a softening jawline rather than pointing down at it.
Protect the Baseline Density
The mistake that ruins more fine shoulder-length hair than anything else is chunky surface layers. They sit on top where you can see them, and every layer that ends above the perimeter means less hair reaching the bottom line.
What you want instead is internal layering. Weight is removed from inside the shape, underneath the top section, so you get movement and bounce while the bottom edge stays completely intact.
The bottom two inches of a fine lob should be untouched. If your stylist reaches for thinning shears near your ends, ask them to work higher up.
Scissors, Not Razors
Mature hair is often more porous, especially where grey has come in, and a razor slices the strand at a long angle that leaves the end open and frayed.
On fragile hair that end splits within weeks, which is exactly how a lob turns into stringy wisps by the second month. Sharp scissors leave a clean, flat edge that holds its shape and reflects light.
Point-cutting with scissors gives you every bit of softness a razor promises, without the fraying. Say it out loud in the chair, because plenty of stylists reach for the razor out of habit.
12 Shoulder Length Cuts for Women Over 50
Each shape below solves a different problem, whether that’s a flat crown, a widening part, wiry greys, or ends that have gone see-through. Every one ties back, and none of them need a 30-minute blow-dry.
1. The Classic Blunt Collarbone Lob

One clean length stopping just above the collarbone, with no layers anywhere. It’s the purest version of the density principle.
Because every strand ends at the same point, the eye reads that bottom line as one solid mass. There are no tapering wisps for light to pass through, which is why this cut makes fine hair look noticeably thicker from across a room.
- Best for: See-through ends, fine straight hair, and anyone whose current cut has gone stringy at the bottom.
- Ask for: One blunt length just above the collarbone, scissors only, and no thinning below the ear.
- Styling in under 10 minutes: Rough-dry the roots upside down, then smooth the lengths with a paddle brush and finish with cool air.
- Skip it if: You want visible movement, since this shape is deliberately solid and swings as one piece.
2. The Textured Lob with Internal Layers
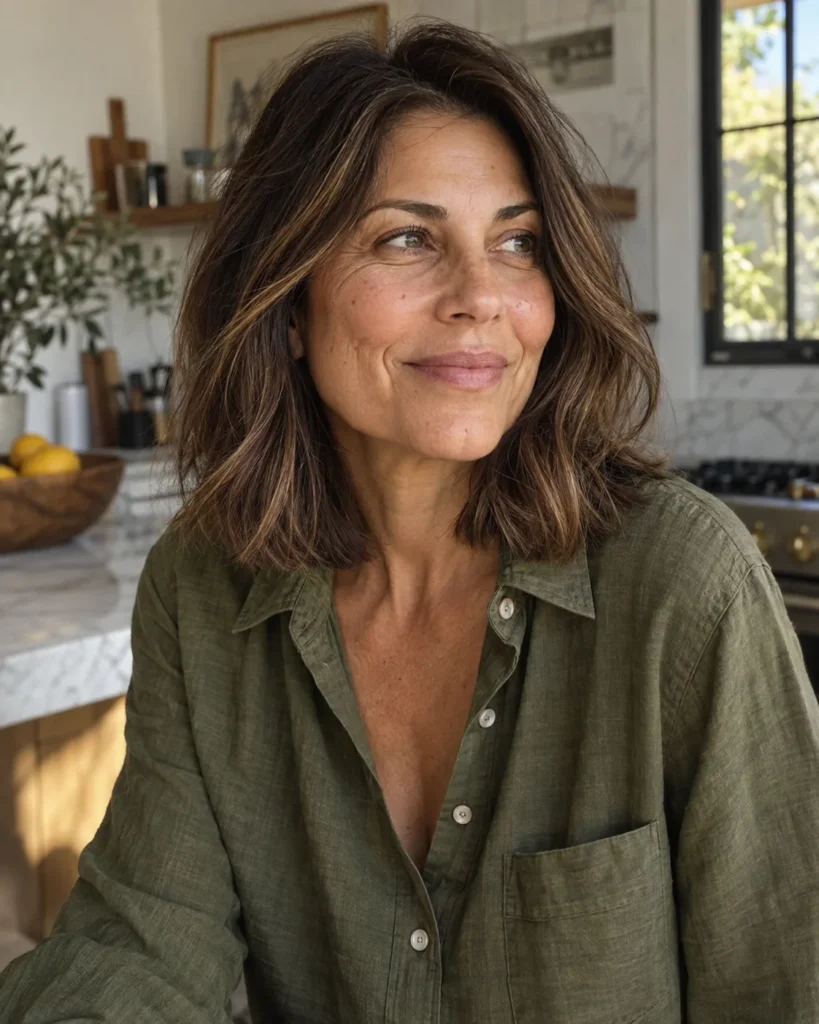
The same collarbone length, but with weight removed from inside the shape so the hair has bounce without losing its edge.
This is the cut most women actually want when they ask for layers. You get separation and movement through the mid-lengths while the perimeter stays blunt and strong, which is the opposite of what surface layers do.
- Best for: Fine hair that’s still reasonably dense, and anyone who finds a blunt lob too heavy or flat.
- Ask for: A blunt perimeter with weight taken out internally, underneath the top section only.
- Styling in under 10 minutes: Light mousse at the roots, bend the mid-lengths with a large barrel iron, then shake it out with your fingers.
- Skip it if: Your ends have already thinned badly, because there isn’t spare weight to remove.
3. The Collarbone Cut with Curtain Bangs

Collarbone length paired with a fringe that parts softly in the middle and sweeps outward on both sides, falling to about cheekbone level.
The curtain frames your eyes without walling off your forehead, and it grows out gracefully instead of needing a trim every three weeks. On a longer cut, it’s what keeps the shape from feeling like a curtain of hair either side of your face.
- Best for: Higher hairlines, softening forehead lines, and anyone who wants a change without losing length.
- Ask for: A blunt collarbone base with a fringe thinned and point-cut so light passes through it.
- Styling in under 10 minutes: Dry the fringe first, brushing it back and away from your face, before anything else.
- Skip it if: Your hair is very fine overall, since a fringe borrows density from the rest of the cut.
4. The Shoulder Shag with Crown Layers

Layers concentrated around the crown and face rather than all over, with the length kept at the collarbone and the perimeter left solid.
The crown is where mature hair thins first, and where a flat top makes everything below look heavier. Shortening the layers up there lets the pieces underneath push the top ones up, which is real structural lift rather than product-and-hope.
- Best for: Flat crowns, a widening part line, and natural fine waves you’ve been fighting.
- Ask for: Layers built around the crown and face only, with the bottom two inches untouched.
- Styling in under 10 minutes: Scrunch light mousse into damp hair, diffuse on low, and don’t touch it until it’s dry.
- Skip it if: You want sleek and polished, since this cut is happiest slightly undone.
5. The Side-Swept Asymmetrical Lob

A deep side part with one side falling noticeably longer, creating a diagonal line across the face and collarbone.
The deep part builds instant crown lift, because the roots are forced to stand up as they sweep across. It also covers a widening part line, which is the single most common frustration women mention to me at this stage.
- Best for: Widening parts, thinning temples, and flat roots that need lift without effort.
- Ask for: A deep side part set before cutting, with a real length difference between the two sides.
- Styling in under 10 minutes: Dry the roots at the part in the wrong direction first, then flip the hair back over to where it belongs.
- Skip it if: You change your part often, because this cut commits to one side.
6. The Blunt Lob with Face-Framing Feathering
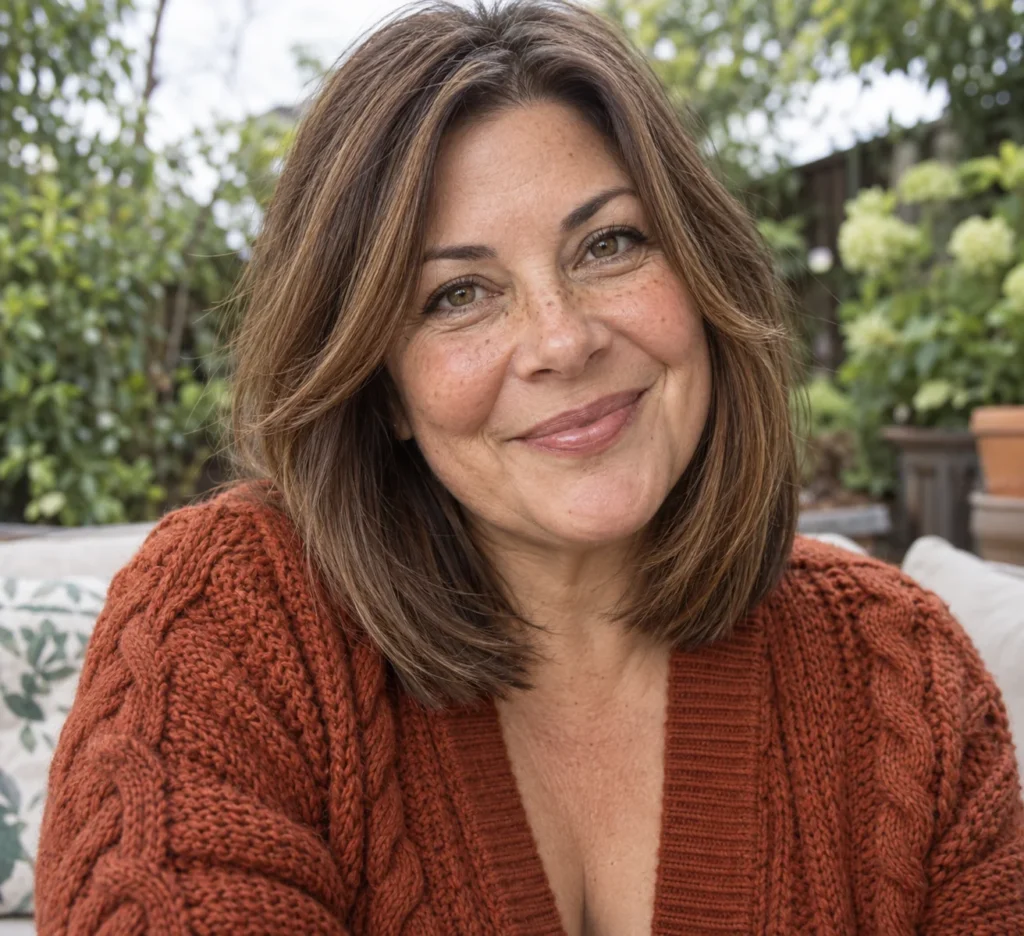
A solid collarbone lob with soft feathered pieces framing the face, while the back and sides keep their full blunt weight.
The feathering is limited to the front on purpose. You get softness exactly where it flatters your jaw and cheekbones, and you keep density everywhere the eye reads thickness.
- Best for: Softening a jawline, and anyone who finds a fully blunt lob too severe around the face.
- Ask for: A blunt base with feathering restricted to the face-framing sections only.
- Styling in under 10 minutes: Curl just the front pieces away from your face and leave the rest straight or loosely bent.
- Skip it if: Your front sections are already thin, since feathering removes weight from exactly that area.
7. The Soft Curved Inverted Lob
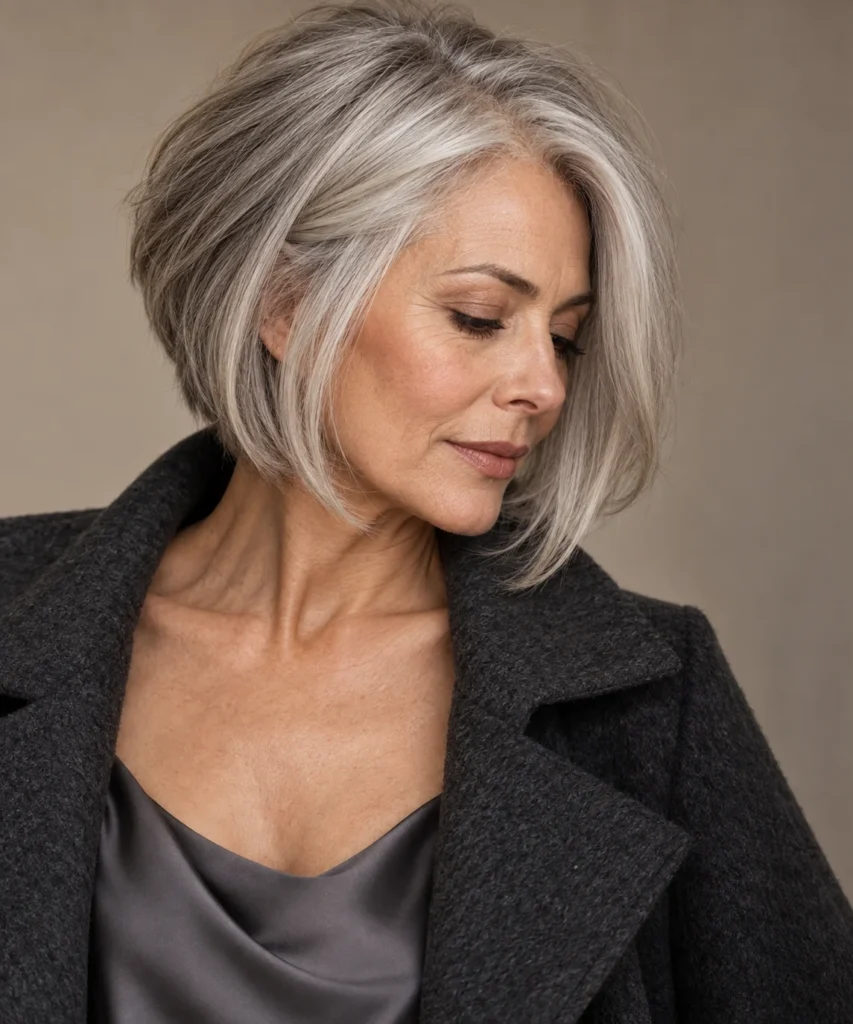
Slightly shorter at the back with the length angling longer toward the front, so the front pieces sit at the collarbone while the back sits a little higher.
The forward angle creates a diagonal pointing up toward your cheekbones, and diagonals lift the eye in a way flat lines never do. The shorter back also builds natural height where hair tends to collapse.
- Best for: Crowns that go flat by lunchtime, and anyone who wants lift and face-framing in one shape.
- Ask for: A soft graduation through the back angling down to collarbone-length front pieces.
- Styling in under 10 minutes: Dry the back lifted straight out from your head, then smooth the front sections down and forward.
- Skip it if: You wear your hair up most days, since the shorter back layers escape the elastic.
8. The French Collarbone Bob with Wispy Fringe

A longer take on the French bob. The same blunt, precise line, dropped to the collarbone, with an airy fringe you can see skin through.
It’s the most polished cut on this list. The precision of the line does the density work, while the wispy fringe keeps it from looking severe, and the pair together read as deliberate rather than grown out.
- Best for: Fine straight hair, silver and grey tones, and anyone who likes a polished, considered look.
- Ask for: A precise blunt line at the collarbone with a fringe cut to brow level and thinned so it’s airy, not solid.
- Styling in under 10 minutes: Blow-dry smooth in sections with a paddle brush, dry the fringe side to side, finish with cool air.
- Skip it if: Your hair is naturally wavy and you’d rather not heat-style most days.
9. The Wavy Tousled Collarbone Cut
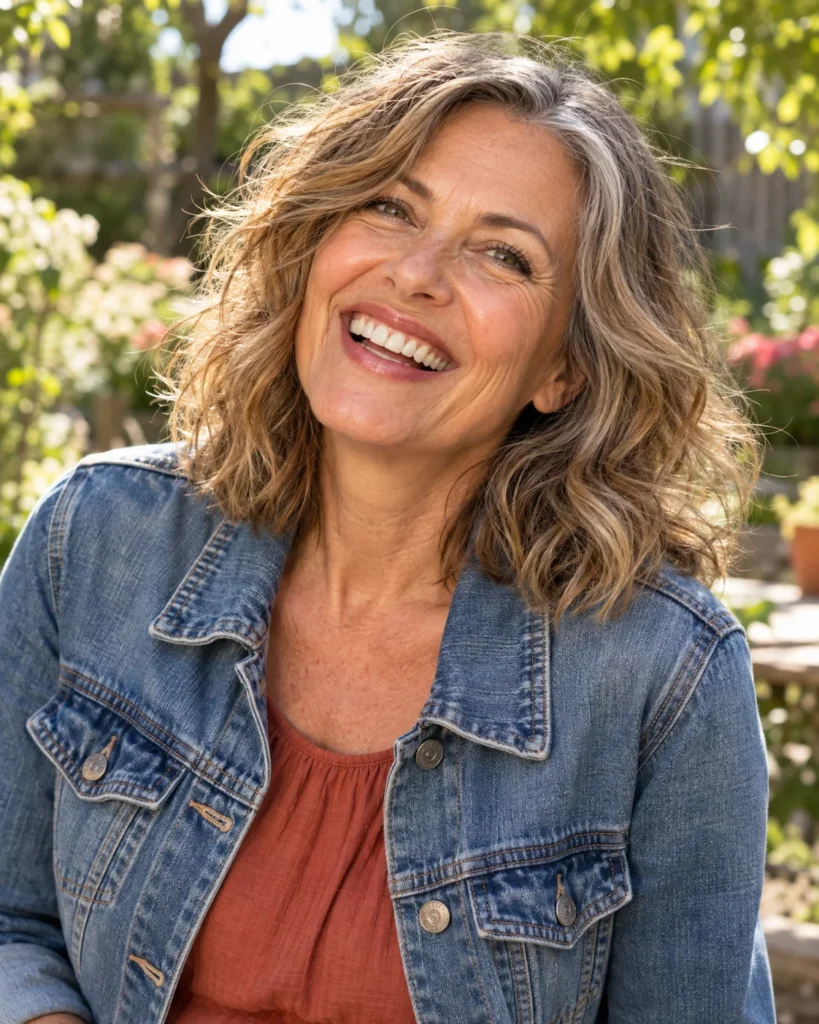
Collarbone length with soft internal layers designed around a natural wave pattern, finished undone rather than set.
Fine wavy hair is often flat-ironed into submission and then wondered at for looking limp. Give those bends somewhere to go and the wave itself becomes volume, which is free body you don’t have to build with tools.
- Best for: Natural fine waves, grey textures with a bit of coarseness, and anyone who wants a cut that air-dries well.
- Ask for: Internal layers cut to support your wave pattern, point-cut ends, and a solid perimeter.
- Styling in under 10 minutes: Mousse on damp hair, scrunch once, air-dry or diffuse on low, then break the pieces apart with your fingers.
- Skip it if: You straighten daily, because the whole point is the movement.
10. The Glass-Hair Straight Lob

A blunt collarbone lob dried perfectly straight and smooth. The entire effect lives in the finish rather than the shape.
Fine hair has a genuine advantage here. A flat, closed cuticle reflects light in one continuous sheet, and that shine is what reads as thick and healthy at a distance, even when the hair itself is not dense.
- Best for: Fine straight hair, silver tones that catch light beautifully, and anyone who likes a sleek finish.
- Ask for: A precise blunt line with absolutely nothing removed from the ends.
- Styling in under 10 minutes: Paddle-brush blow-dry in sections, finish with cool air, then one drop of lightweight serum on the ends only.
- Skip it if: You have a natural wave and don’t want to heat-style, since this look depends on the smooth finish.
11. The Modern Feathered Lob

Soft, point-cut feathering worked through the lengths with scissors, giving separation without the frayed ends a razor leaves behind.
Wiry silver and grey strands fight a blunt cut and pop out where you don’t want them. Feathering with scissors gives each one somewhere to sit, so coarse texture reads as movement instead of frizz.
- Best for: Wiry grey and silver textures, and anyone whose blunt cut never quite lies flat.
- Ask for: Point-cut feathering through the lengths, scissors only, and no razor anywhere near the ends.
- Styling in under 10 minutes: Rough-dry, then run a light cream through the ends with your palms to define the separation.
- Skip it if: Your ends are already sparse, because feathering removes a little weight wherever it goes.
12. The Low-Maintenance Wash-and-Wear Lob
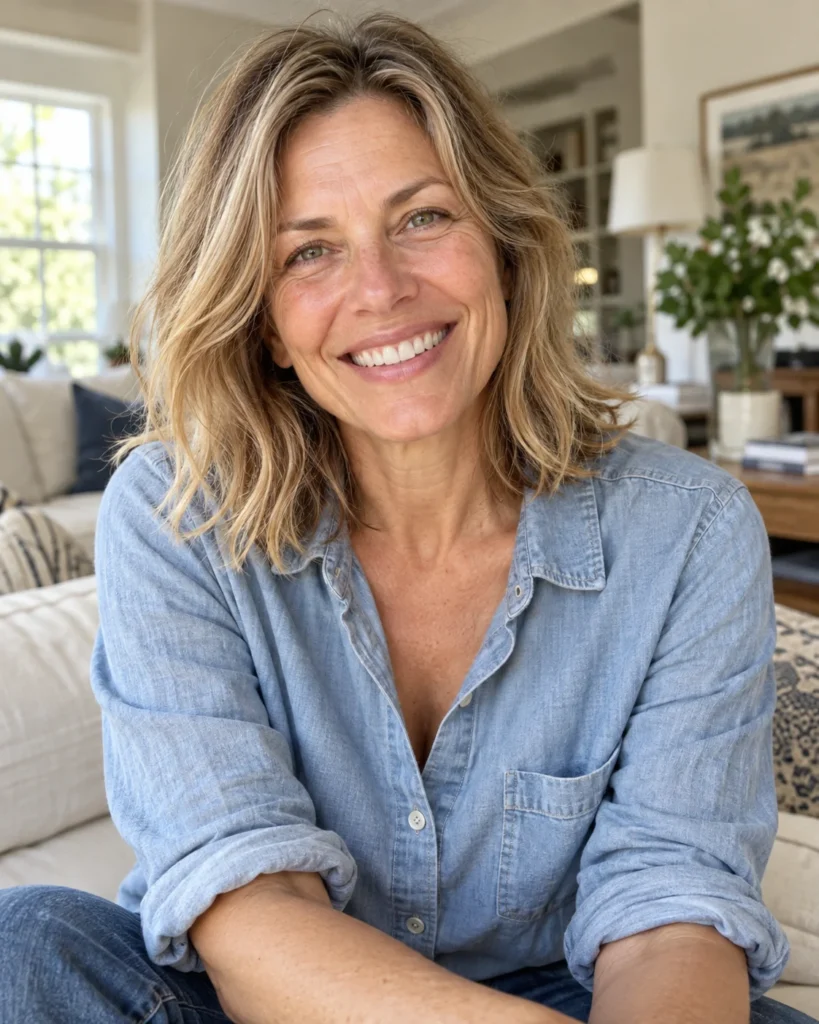
A simple collarbone length with minimal shaping, cut to dry into its own shape without tools. The whole design brief is that you don’t have to do anything.
Your stylist builds this around your natural growth pattern, your cowlicks, and the direction your hair already falls. Done well, it looks better on day two than day one.
- Best for: Anyone genuinely short on time, and hair that behaves reasonably well on its own.
- Ask for: A collarbone length cut to your natural fall and growth pattern, with minimal internal weight removal.
- Styling in under 10 minutes: Rough-dry the roots, add texture spray, and leave it alone. Five minutes at most.
- Skip it if: You have strong cowlicks at the crown, since those need a shape built to control them.
What to Tell Your Stylist in the Chair
Photos show the result. These four sentences describe the technique that gets you there, which is what your stylist actually cuts to.
- Say this: “Please cut the length just above my collarbone, not at my shoulder, so it doesn’t flick out.”
- Say this: “Keep my perimeter blunt and take the weight out internally, so my ends don’t go see-through.”
- Say this: “Point cutting rather than a razor, please, and go easy with the thinning shears.”
- Say this: “Can you show me how to dry it once while I hold the brush myself?”
That last sentence is worth more than the other three combined. A cut you can’t reproduce at home is a cut that works for one day. For more on which shapes protect density, our haircuts for fine hair guides go deeper.
Cuts That Drag You Down vs. Cuts That Lift You Up
| Shoulder Cuts That Drag You Down | Collarbone Cuts That Lift You Up |
|---|---|
| Length cut to sit right on the shoulder | Length stopping just above the collarbone |
| Razor-thinned, frayed ends | A blunt perimeter cut with scissors |
| Chunky layers visible on the surface | Weight removed internally, underneath the top |
| A heavy blunt fringe across the brow | A curtain fringe you can see through |
| Flat roots dried in their natural direction | Roots dried upside down and set with cool air |
| The same part line every single day | A deeper side part that lifts and covers |
| Rich conditioner worked into the roots | Conditioner kept from the ears down |
Frequently Asked Questions
Can I still tie my hair back with a collarbone cut?
Yes, and that’s the main reason to choose this length. A collarbone lob gathers comfortably into a low ponytail, a small bun, or a claw clip, which is exactly what a bob or pixie takes away from you.
Two cuts on this list are the exception. The inverted lob and the shoulder shag have shorter sections at the back and crown that escape an elastic, so if daily updos matter to you, pick a blunt or internally layered shape instead.
How do I stop fine hair separating into stringy pieces during the day?
Separation usually means the hair has gone flat and slightly oily at the root, so strands stick together in clumps. That’s a scalp problem more than a cut problem.
Apply dry shampoo at night rather than in the morning, so it absorbs oil as your scalp produces it. Use a dry texture spray underneath the top layer rather than a sticky hairspray on top, since texture spray adds grit that holds strands apart.
Keep conditioner from the ears down as well. Anything rich near the roots flattens fine hair within hours.
What’s the best root-lift routine for medium-length fine hair?
Work a light mousse or root spray into the first inch of your roots on damp hair, never the lengths. Then flip your head forward and dry the roots upside down until they’re about 80 percent dry.
Flip back up, smooth the top layer and ends with a brush, and finish with 30 seconds of cool air. Hair sets as it cools, so skipping the cold blast is why your lift collapses by noon. Our volume and thickness guides cover more of these techniques.
How often does a shoulder-length cut need trimming?
Every eight to ten weeks for most collarbone shapes, which is one of the quiet advantages of this length over a pixie or a short bob.
The exception is a fringe. Curtain and wispy fringes need a quick trim every four to six weeks, though many salons will do that between appointments at no charge if you ask.
Effortless is the word that actually matters here. Not the trendiest shape in the salon book, but the one you can dry in eight minutes, tie back on a busy Tuesday, and stop thinking about the moment you leave the bathroom.
Pick the cut that solves your biggest frustration, ask for it by technique rather than by picture, and give yourself one growing-out cycle to settle in. For more ideas at this length and shorter, browse our hairstyles over 50 section.
Pin all 12 cuts to your hair inspiration board, then take the one you picked and the four talking points to your next appointment.