The DIY Oat Milk Hair Rinse That Stopped My Scalp Itch
That prickling heat along your part line. The urge to scratch during a meeting. The tight, drawn feeling after a shower, as if someone shrank your scalp by half a size.
A DIY oat milk hair rinse is what I keep coming back to, because it works on the actual cause. Most itch relief shampoos just clean harder, and a scalp that itches is usually a scalp whose barrier is already stripped. Washing it more aggressively is like sanding a sunburn.
Oats go the other way. They sit on the surface, quiet the itch signal, and put moisture back where the barrier wore thin. Two ingredients, five minutes, and a liquid light enough that fine hair never goes flat.
The 4 Non Negotiable Rules
Cold water only. Heat turns oat starch gummy and the rinse goes slimy on the strand.
Strain it twice. Grit dries into pale specks that look exactly like flakes.
Scalp first, ends second. The soothing compounds are wasted on your ponytail.
Use it fresh. The Oat rinse has no preservative, so treat it like milk and not like a product.
Why a DIY Oat Milk Hair Rinse Calms Irritation So Fast
A DIY oat milk hair rinse does three jobs at once, because three things come out of a soaked oat and each lands somewhere different.
Avenanthramides switch off the itch reaction
Avenanthramides are the compounds behind the anti irritant reputation oats have carried for a century. Dermatology research on colloidal oat credits them with cutting redness and interrupting the itch signal in sensitized skin. On a scalp that stings after shampoo, that matters more than any shine claim.
Beta glucan repairs the moisture barrier
Beta glucan is a soluble fiber that forms a thin, breathable film as it dries. That film slows water loss, so a stripped scalp can rebuild its own barrier instead of flaking. On hair it keeps the strand flexible rather than crisp, with none of the waxy residue a rich mask leaves.
Oat lipids and proteins smooth the cuticle
Oats carry more fat than most grains plus small water soluble proteins. Those lipids fill the microscopic gaps on a rough cuticle, so light bounces evenly. Conditioning agents work on this exact principle, as the literature on hair cosmetics and conditioning explains. The oat version is simply the lightest one there is.
Worth being honest about limits. A DIY oat milk hair rinse soothes, softens, and conditions. It will not regrow hair or mend a split end. It makes washing stop hurting.
The Fail Proof 2 Ingredient Recipe
What You Need
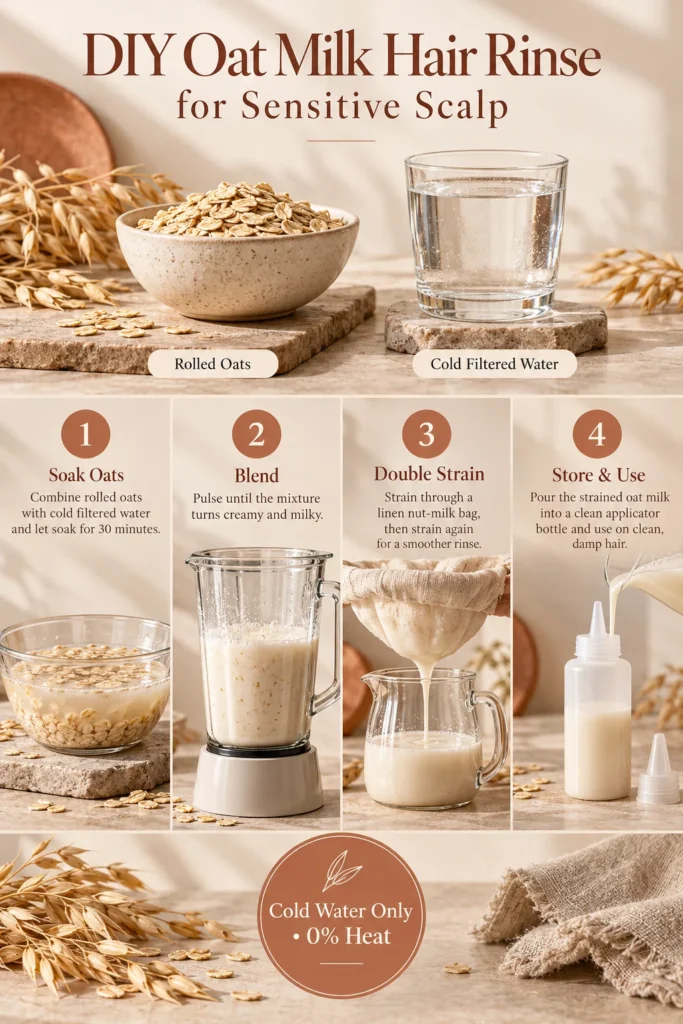
1/2 cup rolled oats plus 2 cups cold filtered water. That is the entire ingredient list.
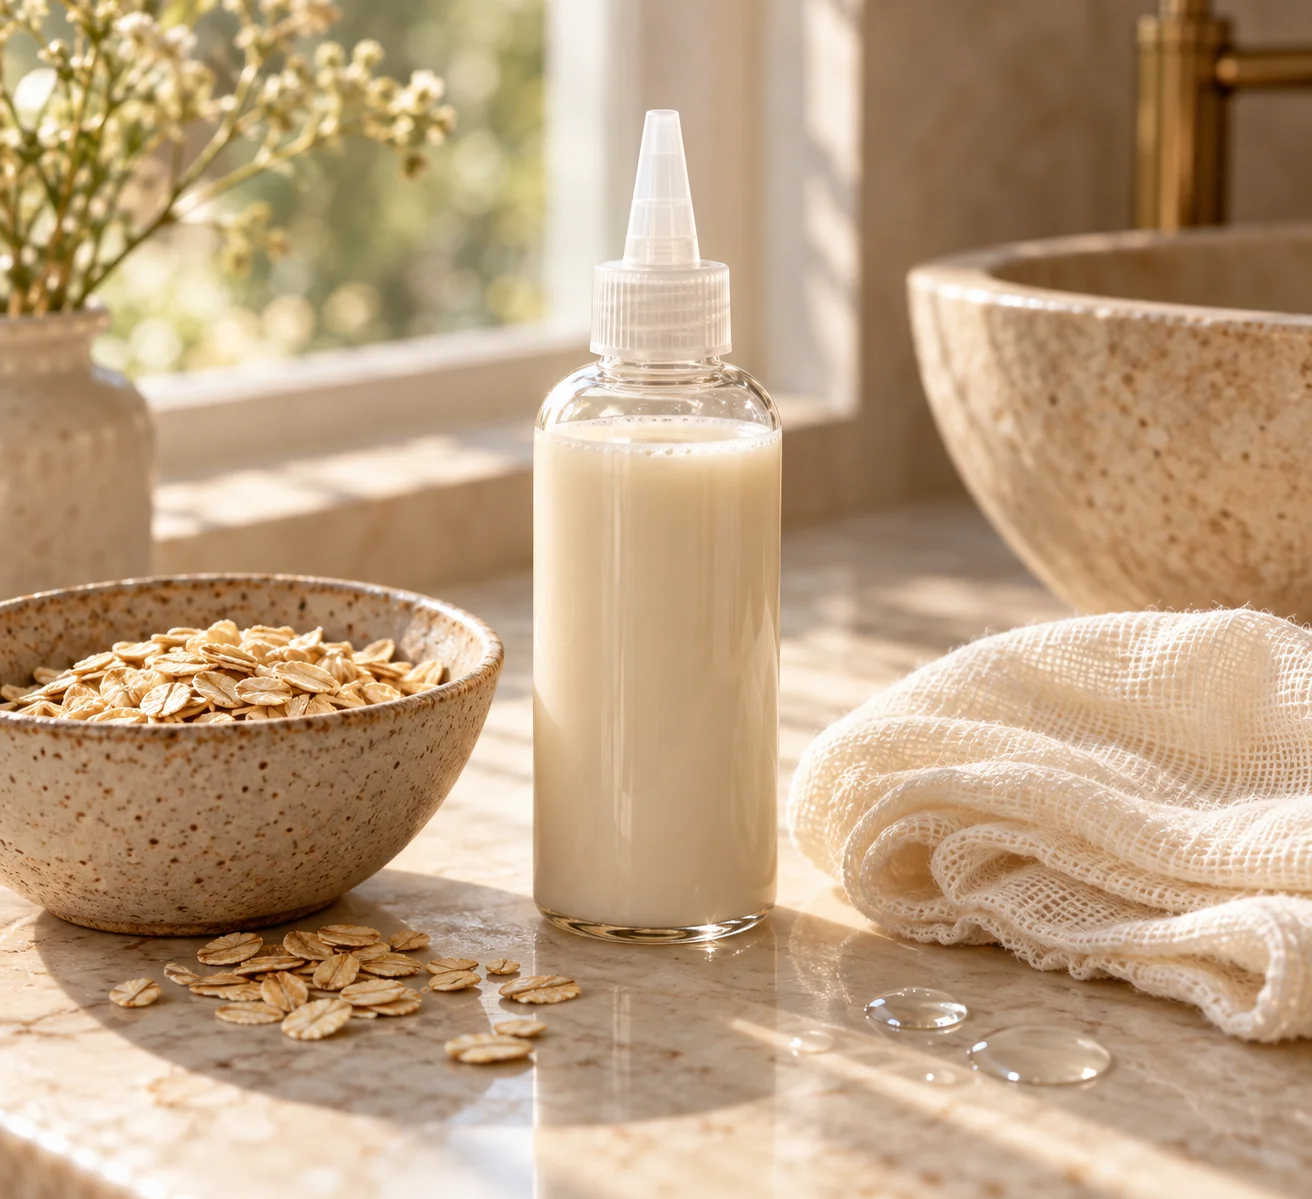
Equipment. A blender, a fine mesh sieve, a nut milk cloth, and an applicator bottle with a pointed nozzle. The nozzle is the part everyone skips and the part that changes everything.
That makes about two cups, one application on shoulder length hair. Scale up but hold the one part oats to four parts water ratio, because a thicker mix is harder to rinse out and that is when a DIY oat milk hair rinse leaves residue.
Rolled, colloidal, or instant
Rolled oats. The default. Still raw inside, so the beta glucan and lipids are intact.
Colloidal oatmeal. Milled fine enough to suspend in water, so it needs no straining. Best if your scalp is truly inflamed. Two tablespoons to two cups.
Instant oats. Skip them. Pre cooked means the starch is already gelatinized, so it turns to paste.
The water temperature rule nobody mentions
Oat starch gelatinizes around 140 degrees Fahrenheit, so hot tap water alone can turn your batch into thin porridge. Then it clings to the strand, dries stiff, and needs two shampoos to remove. Cold also slows the bacteria that grow in any unpreserved plant milk.
Optional boosters by scalp type
Flaking and dandruff. Two drops of tea tree oil per two cups, no more. On a sensitive scalp a heavy hand makes the burning worse.
Extreme dryness. Half a teaspoon of jojoba shaken in just before you pour. Jojoba sits closest to your own sebum, so it absorbs instead of sitting on top.
Shedding and thinning. Swap half a cup of the water for rosemary tea, brewed weak and cooled completely.
Add boosters to the strained liquid, never to the blender. Oil in the blender emulsifies into the starch, and that is how a weightless rinse turns greasy.
Step by Step: Making and Using Your DIY Oat Milk Hair Rinse
Step 01 • Soak and blend
1. Twenty minute soak, thirty second blend
Oats and cold water in a bowl, then walk away for twenty minutes. Water turning faintly cloudy means the beta glucan has moved into the liquid. Pulse blend thirty seconds, no longer. Past forty seconds you are pulverizing husks into dust fine enough to slip through any cloth.
Step 02 • Double strain
2. Strain twice, and squeeze gently
First pass through the sieve for the obvious solids. Second through a nut milk cloth, pressed gently rather than wrung, because wringing forces starch through and that is what makes a rinse slimy. The liquid should look like thin skim milk. Tip the jug, and if it coats the glass, add water.
Step 03 • Apply at the roots
3. Nozzle bottle straight onto a parted scalp
Shampoo and rinse first, then squeeze the water out so hair is damp and not dripping, because dripping hair dilutes everything before it reaches skin. Part down the center, run the nozzle along the exposed scalp, shift the part an inch, repeat.
Tool: Applicator bottle with a pointed nozzle
Common mistake: Pouring over soaking wet hair
Zero waste rule: Catch the runoff in a cup and pour it through again
Step 04 • Massage and wait
4. Five to eight minutes, fingertips only
Small slow circles with your fingertips, never your nails. Five minutes is the floor for the avenanthramides and eight is the ceiling. Set a timer, because most people cut this short and then decide the rinse did nothing. Our hair porosity test tells you which end you need, since low porosity hair wants the full eight.
Step 05 • Cold finish
5. Cold rinse, and skip the conditioner
A cold rinse at the end is not just an internet ritual. Cold water keeps the cuticle lying flat, so the smoothness survives the towel, and it calms an irritated scalp immediately.
Most fine hair needs no conditioner after a DIY oat milk hair rinse at all, and that is the point. Towel in a squeeze, not a rub, then air dry. The root lift you keep this way outlasts any cream conditioner, which is the logic behind our volume and thickness guides.
What Not to Do
Four mistakes account for almost every failed DIY oat milk hair rinse, and all four are easy to avoid.
Cooking the oats. A cooked mix glues itself to fine hair and takes two washes to get out.
Using it instead of shampoo. Oat milk cannot clean. It layers over sebum and the scalp feels coated by day two.
Skipping the second strain. The usual reason people pick oat specks out of dry hair.
Adding honey, banana, or egg. Each turns a weightless rinse into a mask fine hair cannot carry.
Storing a DIY oat milk hair rinse safely
Pour what is left into a clean glass jar, lid it, and refrigerate right away. Two days is the safe window and three is the limit. Smell it before every use, because sour or fizzy means throw it out, and so does any film on top. Two drops of tea tree preserves nothing.
One caution. If you have an oat or gluten sensitivity that shows on your skin, patch test on your inner arm and wait a day. Scaly patches spreading past the hairline need a dermatologist, not a kitchen fix. Our hairstyles over 50 section covers the fragile silver texture that often comes with a reactive scalp.
Frequently Asked Questions
Can I use store bought oat milk instead?
In a pinch, but not nearly as well. Commercial oat milk is strained hard, usually carries added oils, sugars, and gums, and the enzyme treatment that makes it sweet breaks down some beta glucan. Pick unsweetened with the shortest ingredient list you can find.
How often should I use a DIY oat milk hair rinse?
Twice a week for a dry or itchy scalp, once a week for oily roots, once a fortnight for very fine hair. Start low and move up only if your hair feels better rather than heavier. Nearly everyone who reports build up was doing it four times a week.
Will it cause build up or weigh down fine or low porosity hair?
Not at this dilution, provided you rinse it out. Low porosity hair is the one to watch, since a tight cuticle lets liquid sit on the surface instead of absorbing. Apply at the roots only, hold contact to five minutes, and finish with a thorough cold rinse.
Does it leave hair sticky or greasy?
Not if it is strained twice and kept cold. Stickiness after a DIY oat milk hair rinse traces back to one of three things: oats that were cooked, a mix that was too thick, or a rinse never properly washed out. Fix the strain and the temperature.
Final Thoughts
Half a cup of oats, two cups of cold water, and a sieve. Dermatology still reaches for colloidal oatmeal after decades of newer options, and a DIY oat milk hair rinse brings that to the scalp in the lightest form there is.
Give it four washes before you judge it. Fine hair needs a couple of rounds to stop expecting the slippery feel of silicone, and what replaces it is softness with movement still in it.