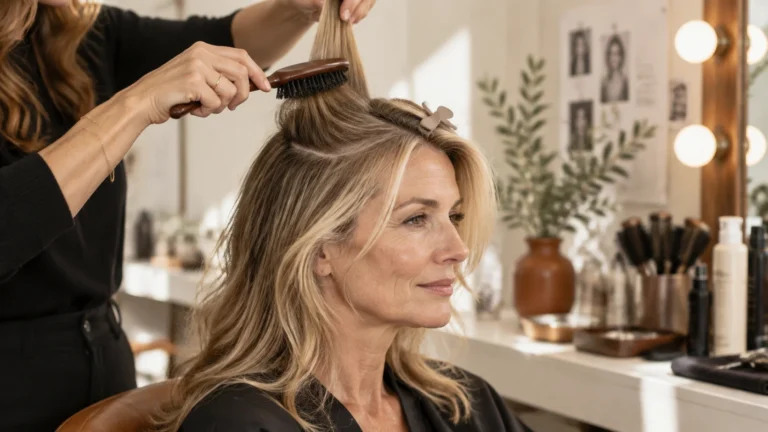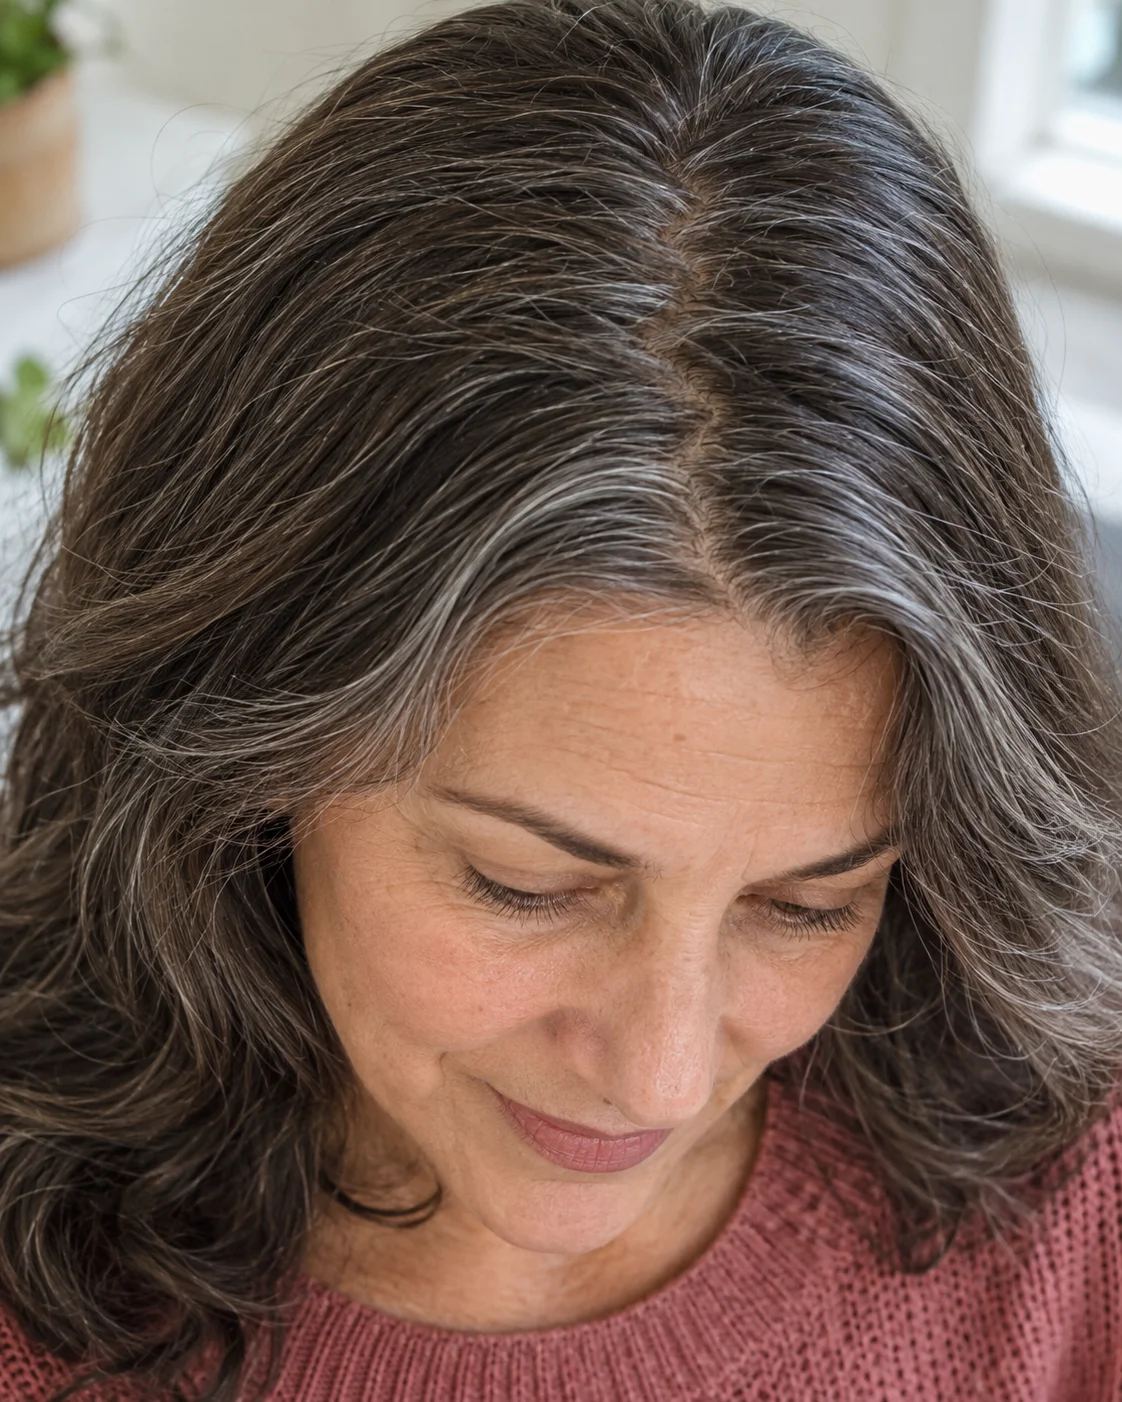
Side Part vs Middle Part for Thin Hair: The Mistake Costing You Volume
The side part vs middle part for thin hair debate gets settled on TikTok by people with enough density to do whatever they like. Then you try the middle part, catch yourself in an elevator mirror under overhead lighting, and see a pale stripe running straight down the top of your head.
That stripe is not in your imagination. A dead-centre line splits already sparse density into two thin curtains, so instead of one head of hair you have two half-populated sides. Call it the 50/50 density penalty. On thick hair it costs nothing. On fine hair it doubles how much scalp catches the light.
There is a second thing happening, and it is the useful one. Hair grows out of the follicle at an angle, and after years in one position the roots lie down in that direction out of habit. Move the part against that grain and every root along the line is forced to stand up before it can fall. That is a structural arch, and it costs nothing and takes two seconds.
So this is not really 2000s side sweeps versus modern centre parts. It is geometry. Where the line sits, which way it runs, and whether it is straight or broken decide how much scalp shows and how high your roots sit. Everything below is built on those three things.
The Physics of Hair Parting
Hair sets where it dries. Shifting a part in dry hair holds for about ten minutes. Shifting it while the hair is soaking wet, then drying it there, holds all day. Hydrogen bonds reset as water leaves the strand, and they lock in whatever position they were in.
Straight lines expose, broken lines hide. A clean straight part gives light one continuous channel of bare scalp to bounce off. Break that line, even slightly, and the light scatters instead of pooling.
The 50/50 split halves your visual density. Centre parting divides your hair into two equal sides. With fine hair you want one heavy side and one lighter side, because the heavy side is what people actually see.
Drying against the grain builds lift that lasts. Roots dried in the direction they do not naturally fall hold an arch at the scalp for the whole day, with no backcombing and no product.
Side Part vs Middle Part Thin Hair: The Head-to-Head
Density preservation. The side part wins outright. Shifting the line off centre loads two thirds of your hair onto one side, and that heavier side reads as a solid mass. A middle part gives you two half-masses and a visible gap down the middle.
Crown lift. Side part again, and this one is mechanical rather than optical. A middle part usually sits where your hair already falls, so the roots stay flat. Any part moved off its habitual line pushes the roots upward.
Face shape. Here the middle part earns its place. A centre line lengthens a round or square face and balances a strong jaw. A deep side part adds width at the top, which suits long and narrow faces and softens angular ones.
Maintenance. The middle part is almost no work, because it tends to be where your hair wants to sit anyway. A deep side part needs setting while wet and a cold shot at the end, or it drifts back by mid-afternoon.
The honest conclusion is that nobody has to pick a side. The seven ideas below are mostly hybrids, and they are where the real answer lives.
7 Parting Ideas That Actually Work on Thin Hair
Idea 01 • The Easiest Win
1. The 1-Inch Off-Centre Shift

Move your part exactly one inch to either side of centre. From the front it still reads as a modern centre part, so you lose none of the look, but the density is no longer split evenly and the roots are no longer sitting in their habitual groove.
If you only try one thing from this page, try this one. It takes two seconds and it is the single highest return change available to fine hair.
Best for: Anyone who wants the centre-part look without the scalp stripe, all face shapes
The volume trick: One inch is enough to break root habit without looking like a side part
Execution time: Two seconds, done with a comb tail in wet hair
Stylist tip: Alternate sides week to week so neither groove gets a chance to set in
Idea 02 • Crown Coverage
2. The Soft Diagonal Brow-Arch Sweep

Start the part at the outer edge of one eyebrow and run it diagonally back toward the opposite crown. Because the line travels across the head rather than straight back, it physically relocates hair from your fuller side over whatever is thinning on top.
The diagonal also reads as softer than a hard side part, which is why it suits women who want coverage without the 2000s look.
Best for: Thinning crowns, uneven density between the two sides
The volume trick: A diagonal line carries more hair across the top than a straight one
Execution time: One minute, set while damp
Stylist tip: Start at the brow arch, not the temple, or the sweep sits too low to cover anything
Idea 03 • Scalp Camouflage
3. The Micro Zig-Zag Centre Part
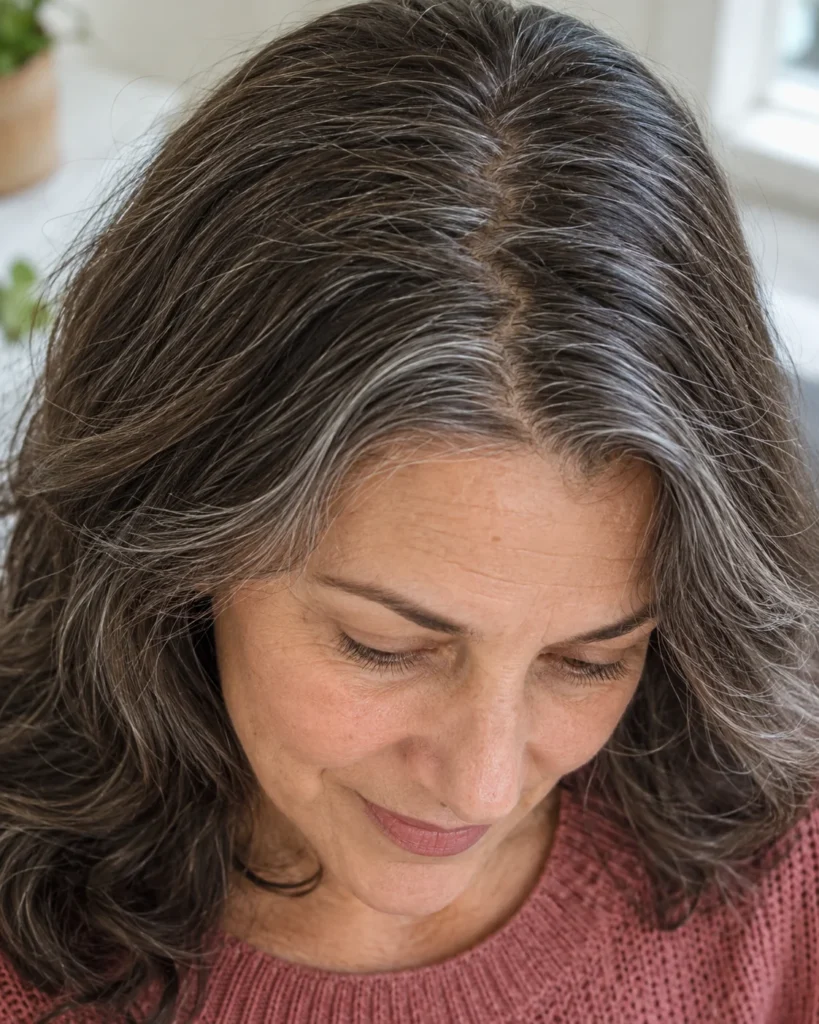
If you want to keep a centre part, stop drawing it with a straight line. Use the pointed end of a tail comb to weave the parting in small zig-zags, roughly half an inch wide. Keep the zig-zags tiny or it looks like a 90s crimping accident.
Hair from both sides interlocks across the line, so there is no continuous channel of bare scalp for light to catch. This is the single best fix if your part has widened.
Best for: Visible scalp at the parting, anyone committed to a centre part
The volume trick: Interlocked hair blocks the light channel that makes scalp show
Execution time: 30 seconds with a tail comb
Stylist tip: More on this approach in our guide to hiding a widening part line
Idea 04 • Maximum Lift
4. The Deep Side Part With a Cool-Shot Lock

Take the part well past the outer corner of your eyebrow, nearly to the temple. This is the most dramatic root lift available without tools, because almost every root on the heavy side is being pushed against its grain at once.
The cool shot is not optional here. Fifteen seconds of cold air on the parting once it is dry sets the bonds in the lifted position. Skip it and the whole thing collapses by lunchtime.
Best for: Flat crowns, thinning temples, long or narrow faces
The volume trick: Every root on the heavy side lifts against its growth direction
Execution time: Three minutes including the cold shot
Stylist tip: Our volume and thickness guides go into the cooling step properly
Idea 05 • Softening Angles
5. The Crescent Arc Part

Instead of a straight line, curve the part in a shallow arc that bows toward your fuller side. The curve does two things at once. It never gives light a straight run, and the outer edge of the arc lifts hair away from the flat area behind the ear.
A curved line also reads as softer against a square jaw than any straight part can manage.
Best for: Square and angular faces, flat sections behind the ear
The volume trick: The outer curve pulls hair up and away from the side of the head
Execution time: One minute in damp hair
Stylist tip: Keep the arc shallow, a deep curve looks styled rather than natural
Idea 06 • All-Day Hold
6. The Reverse-Grain Flip

Dry your hair with the part on the wrong side entirely, then flip it back to where you actually wear it once it is fully dry. The roots were set standing up in one direction and now they are being asked to lie in the other, so they compromise by standing somewhere in the middle.
This is not a parting style, it is a drying method, and it works underneath every other idea on this page.
Best for: Anyone whose volume dies by two in the afternoon
The volume trick: Roots set in the opposite direction cannot lie fully flat once flipped back
Execution time: No extra time, it replaces how you already dry
Stylist tip: Flip only when the hair is completely dry, damp hair just falls back
Idea 07 • Temple Framing
7. The Curtain Fringe Centre Split

A centre part stops being a problem once there is a curtain fringe sitting in front of it. The fringe covers the first few inches of the parting, which is the only stretch anyone actually looks at, and the swept-back sides cover thinning temples.
It also borrows a small triangle of hair from the very front, so you are not losing density from anywhere that shows.
Best for: Thinning temples, high foreheads, anyone attached to a centre part
The volume trick: The fringe lifts off the forehead and takes the front roots up with it
Execution time: 20 seconds with a round brush, rolling backward
Stylist tip: Pair it with a blunt perimeter from our cuts for fine hair so the ends stay solid
How to Retrain an Old Part in 7 Days
If you have worn the same part for years, the first two days will feel wrong and it will keep sliding back. That is normal, and a week is usually all it takes.
Day 1 to 7, step one. Set the new line while the hair is soaking wet, straight out of the shower, using a comb tail. Dry hair will not retrain, because the bonds have already set.
Step two. Dry the roots along the new line with tension, pulling them in the opposite direction to where they want to fall, until that first inch is completely dry. The rest of the length can air dry.
Step three. Two flat clips along the new parting at night, holding the roots up rather than pinching them. Take them out in the morning. By day five or six the hair stops arguing.
One sensible limit while you are doing this. Keep the clips loose and never pull the parting tight, because constant tension on the same spot is its own problem. The American Academy of Dermatology covers the basics in their tips for healthy hair.
Frequently Asked Questions
Does a middle part make fine hair look thinner?
Usually yes, for two reasons. It divides limited density into two equal halves rather than one fuller side, and the straight line gives light an uninterrupted strip of scalp to reflect off. A zig-zag centre part or a one-inch shift off centre fixes both without giving up the look.
Can wearing the same side part for years cause thinning?
A part worn in one place for a long time tends to look wider over time, partly because the exposed strip gets more sun and partly because the roots flatten into a permanent groove. Switching sides every few weeks keeps that from setting in. If a part is widening quickly or the hair around it feels sore, that is a question for a doctor rather than a styling fix.
What is the best part for a round face with thin hair?
A soft diagonal, not a hard side part and not dead centre. The diagonal creates a vertical line beside the cheek, which lengthens the face, while still loading density onto one side. A deep side part adds width at the top, which works against a round face.
How do I stop my side part falling flat after two hours?
You are almost certainly setting it in dry hair and skipping the cold shot. Set the part while the hair is soaking wet, dry the first inch of root with tension against the grain, then hit it with 15 seconds of cold air. Cold is what locks the bonds in the lifted position, and it is the step nearly everyone skips.
The side part vs middle part thin hair question has no fashionable answer, only a geometric one. Where the line sits decides how your density is distributed, and which way it runs decides how much scalp the light finds.
Shift it an inch, break the straight line, and dry it where you want it rather than where it wants to go. Your hair will look fuller in a week, and you will not have bought anything to get there.